we love bees
We have used candles for hundreds of years. Before the invention of electricity, their primary use was being a light source. But with modern age also came better light sources, so candles are not used as often as before.
However, some of us still like to light up a candle in the evening to relax after a stressful day. There is something very relaxing and comforting about soft candlelight. A scented candle can have an even greater impact as so many things are related to our sense of smell.
A candle with a scent of cinnamon and apples reminds you of Christmas, vanilla scent can remind you of grandma’s cookies, lavender scent can help you relax on even the most stressful days. Many people have recognized the value of candles, and today they are a common find in any store.
As you might know, modern candles are mostly made of paraffin which some suspect might be harmful to humans. For this reason, some might want candles made of natural ingredients and this is where beeswax come into play. Today we will explore if beeswax candle is indeed better than paraffin candle, and how you can make beeswax candle yourself. However, lets first learn a bit more about the main ingredient of these candles - beeswax.
Beeswax, also known as cera alba, is a natural product made by honey bees of the genus Apis. It consists of about 284 compounds, mostly acids, esters, hydroxy esters, long-chain alkanes, and polyesters.
The worker bees secrete thin sheets of wax from eight wax glands located on their abdomen. Wax sheets, also called scales, after secretion are tasteless, colorless, transparent, and brittle.
Usually only the bees between twelve and twenty days old produce wax because wax glands start to atrophy when the bees are older and begin collecting pollen and nectar. However, the wax production function is not entirely gone in older bees; if needed they can join the wax production.
The wax produced in the hive is used during swarming to build honeycomb cells for the queen to lay eggs in it and for worker bees to store food. Since honey bees need to work fast, cell building is a joined effort of many worker bees.
The process of building honeycomb cells is quite interesting as bees hang in strings and pass the secreted wax between each other. As the wax is passed around, the bees are chewing and molding it into a little ball. Those little balls are then stuck together and shaped into familiar hexagonal cells of a honeycomb.
Since low temperature would make the beeswax too hard and high temperature would make it too soft, bees have to regulate the ambient temperature of the hive by using their body heat. The optimal temperature for managing the beeswax is about 35°C (95°F).
Moreover, the beeswax changes color with time. As the bees keep adding more wax to the honeycomb, it changes color and opacity to more yellow or brown. The color depends on the type nectar and pollen consumed by the bees because of microscopic bits of pollen and nectar added to the wax as the bees chew it.
To make one gram of wax bees need to use 1,100 scales of wax!
Beekeepers extract the beeswax after the honey has been extracted from honeycombs. Honey is extracted after the wax caps of honeycomb cells are cut off with an uncapping knife or machine. The caps need to be removed because they keep the honey from leaking out of honeycomb during extraction.
The beekeepers usually extract honey with a honey extractor which makes the process fast and easy. If you are interested, you can learn more about honey extractors here and here. After honey extraction, the wax is rendered to get rid of impurities.
Usually, the wax of brood (young bees) comb is darker than wax from the honeycomb because brood comb accumulates impurities faster. If needed, the wax can be further clarified by heating it in water. To make the wax softer and more workable at room temperature it can be diluted with vegetable or mineral oil.
Throughout history, beeswax has been used for many things. Alongside natural polymers such as shellac and tortoiseshell, beeswax was one of the first plastics to be used. The usefulness of beeswax lies in the fact that it can never go bad, can be reused, and can be heated. Widespread use of beeswax is shown in findings of beeswax in the tombs of Egypt, Roman ruins, and wrecked Viking ships.
In old times beeswax was what plastic is to us today. Some of the ways beeswax was used include:
With the invention of new materials, such as plastic, beeswax has been used less, but it is still a valuable resource. Many still favor natural beeswax candles over paraffin candles which are widely available nowadays.
Candles used in the liturgy of the Catholic Church and the Orthodox Church are mostly beeswax candles. Beeswax has even found uses in the medical field as an ingredient in surgical bone wax which controls the bleeding from bone surfaces during surgery.
Beeswax can be bleached and purified to be used in the production of pharmaceuticals and cosmetics. Lately, we have noticed an increase in cosmetics with honey bee products as one of the ingredients, which are mostly honey and beeswax. Beeswax is used in cosmetic products because “wax esters” help emulsify and bind lotions, lip balm, ointments.
A study found that beeswax is better than barrier creams which are usually based on mineral oil. Moreover, it is used in skin care, soaps, lip gloss, lip balm, hand creams, and other moisturizers. Beeswax is a natural hydrating agent which increases skin moisture, and for that reason it is commonly found in creams that help retain skin moisture and relieve the itchiness of sensitive skin.
If you used a mustache wax or hair pomades, then most likely used the product with beeswax since it makes hair look shiny and sleek.
Another surprising use of beeswax is its use in food preparation. As with cosmetics, the beeswax used in food preparation needs to be bleached and purified before use. It is used as a coating for cheese to protect it from mold growth, food additive E901 acting as a glazing agent to prevent water loss, surface protection for some fruits, and a natural ingredient in chewing gum.
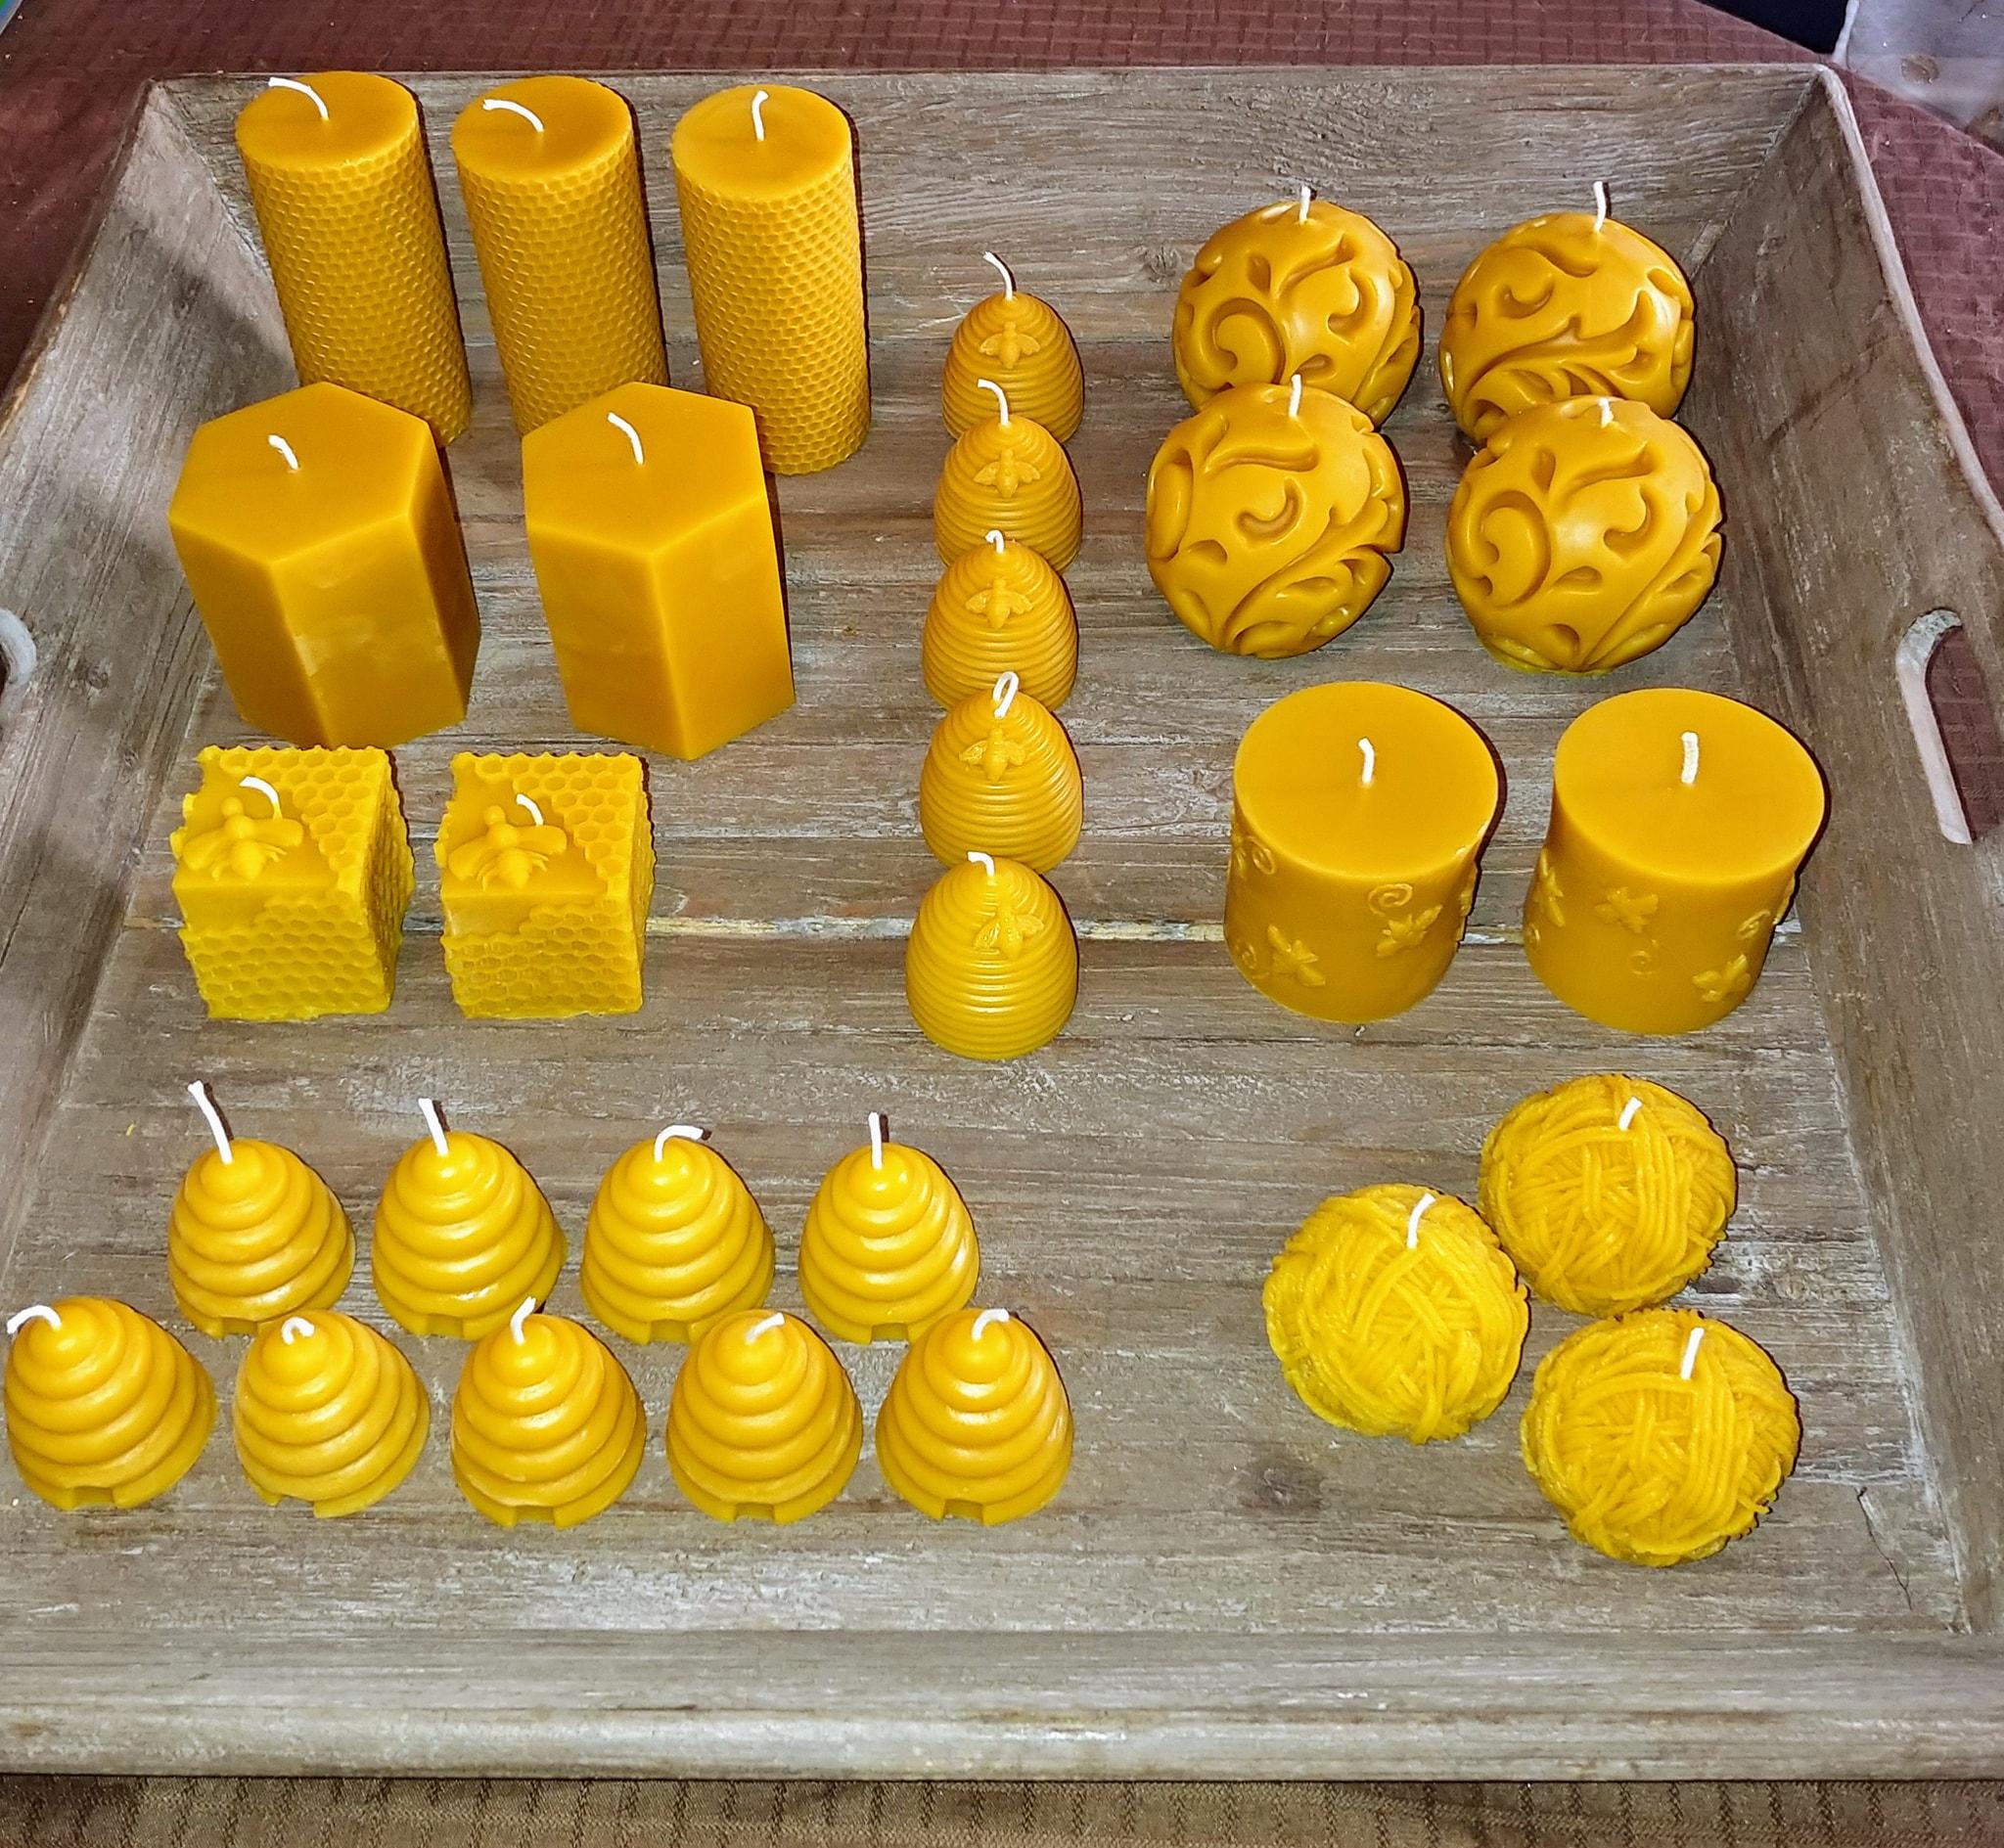
Through all the examples we mentioned you can see that beeswax has always been very useful, but today we will focus on one specific use - beeswax candles. You often hear about paraffin candles and beeswax candles, but which one is better?
Some say that beeswax candles are number one, while others say to go for paraffin candles. Beeswax candles are natural, but paraffin candles are cheaper and widely available. But what if you don’t necessarily care about candles being made from natural materials or their price, are beeswax candles worth it?
To help you decide we made a list of why you should go for beeswax candles instead of paraffin candles.
Paraffin candles make up 95% of the world’s candle production; they are cheap and readily available. You can buy a pack of a few dozens of paraffin candles for just a few dollars.
Beeswax is an expensive product which costs ten times more than paraffin. Unfortunately, this also makes beeswax candles more costly than paraffin candles. A high price of beeswax is due to the limited amount of beeswax that a beekeeper can get from bees.
Honey bees need to consume honey in order to produce beeswax which makes it an expensive resource. To get just one pound of wax, bees need to consume about six pounds of honey. Moreover, a beekeeper can only get about 0.5 - 0.9 kg (1 - 2 pounds) of beeswax per 45 kg (100 pounds) of honey.
Paraffin is oil-based refined petroleum by-product which contains up to 11 toxic compounds and chemicals.
Beeswax is all natural since it is created by the bees. However, be careful when buying beeswax candles because there are no regulations on disclosing candle ingredients. You could buy beeswax candle and actually get a paraffin candle with only 5% beeswax. To avoid this you should look for candles which have specified “100% pure beeswax candle”.
If you have asthma or allergies, you should avoid paraffin candles because of chemicals in them.
Since beeswax is hypo-allergenic, it’s suitable for people with allergies or asthma.
As a by-product of petroleum, paraffin is just a black sludge which has been bleached to change its color to white. To solidify the sludge, a toxic chemical acrolyn is added. Considering how toxic paraffin candles are even during production, burning them cannot be good for you. Also, paraffin is non-renewable which impacts the environment negatively.
Since beeswax is natural, it is non-toxic and environmentally friendly. If trimmed properly, beeswax candles burn clean with very little smoke because they are not oil-based. Moreover, beeswax is biodegradable and renewable.
When paraffin candle burns, it produces harmful black soot which leaves black stains and residue on surfaces in your home. A burning paraffin candle also has a specific chemical smell which can be somewhat masked by artificial fragrances in scented paraffin candles.
Here one beeswax property really puts it above the paraffin candle. Beeswax candles are natural ionizers, and they are the only candles which emit negative ions. Negative ions clean the air and improve its quality by binding to positive particles in the air such as viruses, bacteria, and allergens.
Clumps of particles are heavy so they fall on the floor where they can be vacuumed or swept. Since beeswax is naturally scented by floral nectar and honey in the honeycomb, beeswax candles have a soft honey scent.
Paraffin candles drip excessively and burn for a short time which makes them inefficient. The dripping of wax can only be reduced by adding more chemicals.
On the other hand, beeswax candles burn for a long time and don’t drip as much because of a high melting point. Since they burn longer than paraffin candles, that could offset the initial higher price point of beeswax candles.
Paraffin candle produces a flame which is enough to light up your room softly, there is not much to it.
If you are looking for a brighter flame, then a beeswax candle is just for you. These candles emit natural light which is of the same spectrum as the sun.
Since paraffin candles are synthetic, they do not change as time passes and can be kept indefinitely.
Beeswax is natural so it is susceptible to change over time; it develops a white film which gives it a very desirable and unique look. If stored properly, they also can be kept indefinitely.
As you can see, there are so many properties of candles that we usually don’t think about. Paraffin candles are used all around the world and yet, as you can see from our list, they are not good for you nor the environment.
We believe that beeswax candles are valuable for both the community and the environment. By going with natural candles, you are supporting our amazing beekeepers, helping the environment, and actively reducing toxins in your home. All things considered, we believe that switching to these natural candles is definitely worth it. Now that we have covered some basics, it’s time to jump to the main part - how are beeswax candles made?
You can find pure beeswax candles in some stores, but you can also save up a little bit of money by making them yourself. Moreover, homemade beeswax candles can be modified to fit your needs in terms of size, shape, fragrance, and color. You need just a few ingredients and your fun little project can begin.
12 oz. of chopped beeswax (buy from the store or a beekeeper; or use raw beeswax as explained in the next chapter)
12 oz. of organic palm oil (preferably sustainably sourced because the production process destroys rain forests)
Square braided cotton wick
Kitchen scale
Mason jars
Wooden skewers or pencils to keep wicks in place
Newspaper for protecting your work area
Large glass measuring cup for melting
Use a kitchen scale to measure 12 oz. of beeswax in a glass measuring cup and then cut it into smaller pieces. To make the beeswax workable you have to melt it, which can be done by placing a measuring cup into a pan filled with a few inches of water. Make sure to melt beeswax over medium heat because it could ignite on high heat.
While the beeswax is melting, you can prepare wicks for your candles. Here you have to pay attention to the size of the wick, which is determined by measuring the diameter of your container. You can make it easy by always using mason jars so you always know the dimensions.
To determine wick size you can use this chart. The size of the wick is important because thicker wick can burn more wax at a time which prevents the candle from self-extinguishing because of tunneling. Also, it prevents the rise of the wax pool which would drown the wick.
You can experiment with wick sizes but the general rule is that you should use a thicker wick if your candle tunnels and won’t stay lit, while thinner wick should be used if the candle burns too quickly. For mason jars with the small opening we recommend #4 wick size and for jars with the larger opening we recommend a wick of #6 size.
When cutting wicks make sure that they are at least a few inches taller than the jars in which you are melting beeswax. Dip each wick in melted beeswax but leave a small part of the wick not covered in wax, so you don’t burn your fingers. Place wicks covered in beeswax on a sheet of a newspaper, straighten them, and then let them dry.
When the beeswax is almost done melting, add 12 oz. of palm oil and stir until the wax melts completely. Palm oil is added because beeswax has a high melt point which sometimes causes the wick to drown or create a weak flame. Moreover, beeswax needs to cool down gradually to prevent cracking.
Palm oil is a clean-burning oil with a lower melt point which makes it perfect for candles. Once the wax has melted, pour about 1.5 cm (½ inch) of hot wax in one jar and immediately place a wick in the center so one end touches the bottom of the jar. Hold the wick for a bit until the wax at the bottom hardens enough that the wick can stand on its own. Set the jar aside to let the wax harden completely and repeat the steps with the rest of your jars.
In the next step you will fill the jar with beeswax, but before that you have to secure the wick so it doesn’t move around. Put some old pencil or a skewer on top of the jar and wrap the wick around it, but make sure that the wick is straight. With wick secured, you can finish pouring wax into each jar. Don’t forget to leave headspace at the top or else wax might pour out when the candle is burning. Set aside finished jars for 12 -24 hours to let the wax harden.
The emptied out measuring cup will have some wax left over and it’s best to clean as much as you can while the wax is still warm. When the wax hardens, it will be hard to clean the cup. After you have cleaned most of the wax off the cup, wash the cup in hot soapy water.
Now that the hard work is done, the only thing left to do is to remove whatever was holding the wick in place and to cut the excess. You should leave about 0.5 - 1.5 cm (¼ - ½ inches) of wick so it’s not too long but also not too short to burn properly.
And, that’s it. You made your beeswax candle!
Optionally you can change the color of the wax or add fragrance to your candles with a few easy tweaks. Beeswax candle already releases a slight honey scent when it is burning, but you can change this by adding two teaspoons of essential oil. You can add it after all the wax has melted and you have removed the pot from the stove. After you have added the oils, stir the wax a bit to distribute it evenly.
Usually, beeswax candle has a slightly yellow tint, but it can be changed. The only thing you need for beeswax coloring is some coloring agent which can be food coloring, plant-based dyes, or specially-made wax dyes. Same as with adding fragrance, food coloring is added when all the wax has melted. It’s best to start small, so add a tiny amount of coloring at a time and stir the wax.
Repeat the process until you get the desired shade. Note that natural yellow tint of beeswax may affect the color so take that into consideration when choosing the color for your candles. For example, a combination of blue dye and natural yellow tint of beeswax may create a green tint.
People mostly buy the beeswax from beekeepers or some stores which is ready for candle making. However, you are not limited to only processed wax. If you are able to acquire raw beeswax, then you can also use that for making candles. But, it requires some preparation. Candles require beeswax clean of any impurities, so it has to be processed before use. There are several ways to do this.
This is the simplest and most inexpensive method for cleaning raw beeswax. But, the downside is that it requires a lot of work because it involves filtering raw beeswax through cheesecloth.
In this method you only need to pour melted beeswax through the cheesecloth and remove impurities that remain on the cloth. Since the beeswax hardens quickly, you have to work fast and the method can be done efficiently only with small amounts of beeswax. However, this method is worth it because the beeswax maintains its natural color and fragrance.
The double boiler method is great for a small amount of beeswax. Place small raw beeswax chunks into a glass container with a wide mouth. Fill the bottom part of a double boiler with water and then put the top section part on top of it.
Put the jar with beeswax in the top of the double boiler and heat the water to 85°C (185°F) until the wax has melted. The jar with the wax has to be watched carefully so the wax doesn’t become too hot. Also, you should not let wax come to a boil because it will change color. If you did it correctly, impurities sink to the bottom and clean beeswax remains on the top of the jar. You can clean the beeswax further by filtering it through cheesecloth.
The gravity filtration method is widely popular and includes melting the beeswax in water. It is pretty simple and requires only a stainless steel pot and water. Partially fill the pot with water and put the beeswax in it. Heat the water to simmering until all wax is melted and then remove the pot from the heat allowing it to cool.
Impurities sink to the bottom, while beeswax remains on the top of the water. Usually, the process needs to be repeated several times to get rid of all impurities. The advantage of this method is that beeswax cleaned with this method remains its natural fragrance and color.
Microwave method is great for cleaning a small amount of beeswax and it is pretty simple. You need to put raw beeswax chunks in a glass container with a wide mouth such as canning jar. Microwave the beeswax for about 15 - 20 minutes or until all wax has melted. The impurities from the beeswax fall to the bottom so you just need to remove the clean beeswax from the jar.
This is the easiest method but it is also quite expensive. Because of its cost, it is mostly used by commercial businesses. This method requires continuous boiling of water in the tank to which the wax is added. When the wax melts, all impurities drop to the bottom whole clean wax remains on the top of the tank. The draining of the layers is done by a bell valve.
This method requires a machine which is also used for filtering maple syrup. The machine can be found at companies that sell filtration systems and filtration equipment for maple syrup. The method includes keeping the water at a constant heated temperature and adding wax to it. After some time the water evaporates, leaving clean raw beeswax.
Candles are known to have a long shelf life and can be reused until there is almost no wax left. However, sometimes they burn unevenly which makes them unusable a lot sooner. Or they are not stored properly so the candle looks less “pretty”. We have prepared some simple tips and tricks to help you get the maximum out of your candles and to know how to use them safely.
Candles are amazing but not all candles are equal. Regular aka paraffin candles are just a toxic bomb and bring nothing good to you and the environment. A natural beeswax candle is better pretty much every aspect.
If you are a lover of natural products, we are sure that you will love beeswax candles. Moreover, you can satisfy your creative spirit and make the candles yourself! A big advantage of homemade beeswax candles is that you are absolutely sure what goes into your candles, so you can avoid all chemicals that usually get put into candles.
Also, who doesn’t love endless possibilities with shape, size, and color of your candles, we surely do!
A homemade beeswax candle can also be an excellent personalized gift for your loved ones, just add their favorite fragrance and we are sure that they will love it! Honey bees are a gift that keeps on giving and you cannot go wrong with anything they produce - beeswax is no exception.
Bees are just amazing! Light up a beeswax candle and let it fill your home with a soft honey scent. And let's be honest, a home smelling of honey is a dream for us honey bee lovers!
12 oz. of chopped beeswax (buy from the store or a beekeeper; or use raw beeswax as explained in the next chapter)
12 oz. of organic palm oil (preferably sustainably sourced because the production process destroys rain forests)
Square braided cotton wick
Kitchen scale
Mason jars
Wooden skewers or pencils to keep wicks in place
Newspaper for protecting your work area
Large glass measuring cup for melting
Move the candles from draughts and fans because they can cause uneven burning, smoking, or dripping.
Never left a burning candle unattended.
Store candles in a cool place and avoid exposing them to direct sunlight or heat.
Prevent dripping of wax and smoking by trimming a wick to about 0.5 cm (¼ inch) before each use.
Don’t trim the wick too much because you might have a hard time relighting the candle or the flame might be tiny.
If you notice any foreign particles after extinguishing the candle, take them out before the wax hardens. These particles can act as another wick and make the candle burn too hot.
The candle should fit snuggly in a container.
Avoid tunneling by gently pressing the edges of the candle towards the center while the candle is burning.
Light the wick from the base to allow it to be coated with melted wax so it can burn properly.
The candle should not be burned for longer than four hours at a time.
Do not use the candle which only has about 1.5 cm (½ inch) of wax left to avoid damage to the container or the surface on which the candle is placed.
If you spill some wax on fabric, place the item in the freezer to harden the wax and then chip it off. Another way is to cover both sides of the fabric with a paper towel and press a warm iron over the spill. Paper towels will absorb the wax and if needed you can repeat it several times.
To remove wax drippings from a candleholder you can use hot water to melt the wax a bit, or put the candleholder in a freezer for an hour which will shrink the wax and it can easily be removed.